Tuesday, July 19, 2011

More on a Pink Theme


As I did in my last post, I am using the rough wool that I purchased on Ebay, original color of light pink. This time I dyed about 400 yards, (2 200 Yd. skeins). I used the immersion method, half dry, half wet to make a bi-tonal color.

I really like this color, with light and dark tones of the Vermillion Pink. Below you see both finished skeins.

Next I used the same technique with a light grey yarn, also from Ebay, also 2 200 yard skeins.

This time I used a mixture of Lilac and Pink to come up with this very nice purple.


I think this method of half wet/half dry immersion is extremely nice. I am not a huge fan of lots of contrasting colors in a yarn, though I will certainly be trying some of that too. I like the more subtle sift in colors that you get from this method.

Sunday, July 10, 2011

Yarn Dyeing Continued


My first dyeing adventure! I started with some 100% wool that I purchased on Ebay, light pink in color. I chose this as a practice yarn because the yarn is quite scratchy, so I figured if I messed it up, it's no great loss. The first step was to soak the yarn in a vinegar bath to allow the wool to accept the dye more readily. (See photo on left.)

Next, I mixed up some vermillion and some pink dye, then soaked sections of the wool in each container for several minutes, moving the yarn so the dye would color different sections with more or less intensity.


The result is show above, with the original yarn show in the cone, and the newly dyed yarn in balls with a small sample of the yarn knitted up. Stay tuned to see more fabulous yarn coming soon!

Saturday, July 2, 2011

My New Craft

I've been wanting to do this for a while, and happily, now is the time. This is an excellent book for learning how to dye wool, with lots of beautiful pictures, and easy to understand directions. The author, Gail Callahan, shows you how to set up your studio, what tools you will need, and step by step instructions for dyeing using several methods, and gives you some projects to do as well, if you are so inclined. I'm having a blast! The book is Hand Dyeing Yarn and Fleece, by Gail Callahan, published by Storey Publishing, 2010. The gorgeous photos are by John Polak.

Wednesday, June 15, 2011

1000 Little Quilt Pieces: Project #1; Table Runner


The first project made from the little quilt squares...... this one was pretty easy, since the pinwheel squares were already done, all I had to do was come up with a border and sew it all together.

I found some small squares of the perfect fabric, great colors, and they had little bit of sheen, much like the pinwheel squares. And the best part is, I had enough to make a border. I also found enough fabric for the backing, which also matched perfectly.

Now the project is in my Mom's hand, to do her quilting magic, and I am pondering what to do for Item # 2 of the 1000 Little Quilt Squares Project.

Monday, June 6, 2011

1000 Little Quilt Pieces


My Mom has a closet full of material that she used to use for quilting. Now that she's a bit older, she is not so much into sewing the fabric pieces together, but she still likes to do the hand-quilting. This is where I come in.

We were going through her stash, and found tons of different sized fabric squares, from about 1 1/2 inches to about 3 inches, plus she had some quilt squares already made up. She said, "Take the whole thing, I'm sure you can figure out what to do with them." The point is to make something that she can quilt. Soooooo,

I took the whole thing. I started sorting according to color and size, and came up with a bunch of little piles of fabric squares. Then I took a look at some of the finished quilt squares and tried to figure out what I could do with them.

The good news is that I think there are a couple of doable projects using the quilt squares that she already made, plus I think I can do something with all the little fabric squares. It's quite a project, but I'm looking forward to the challenge. Come back in a few days and I'll have something to show you!

Saturday, June 4, 2011

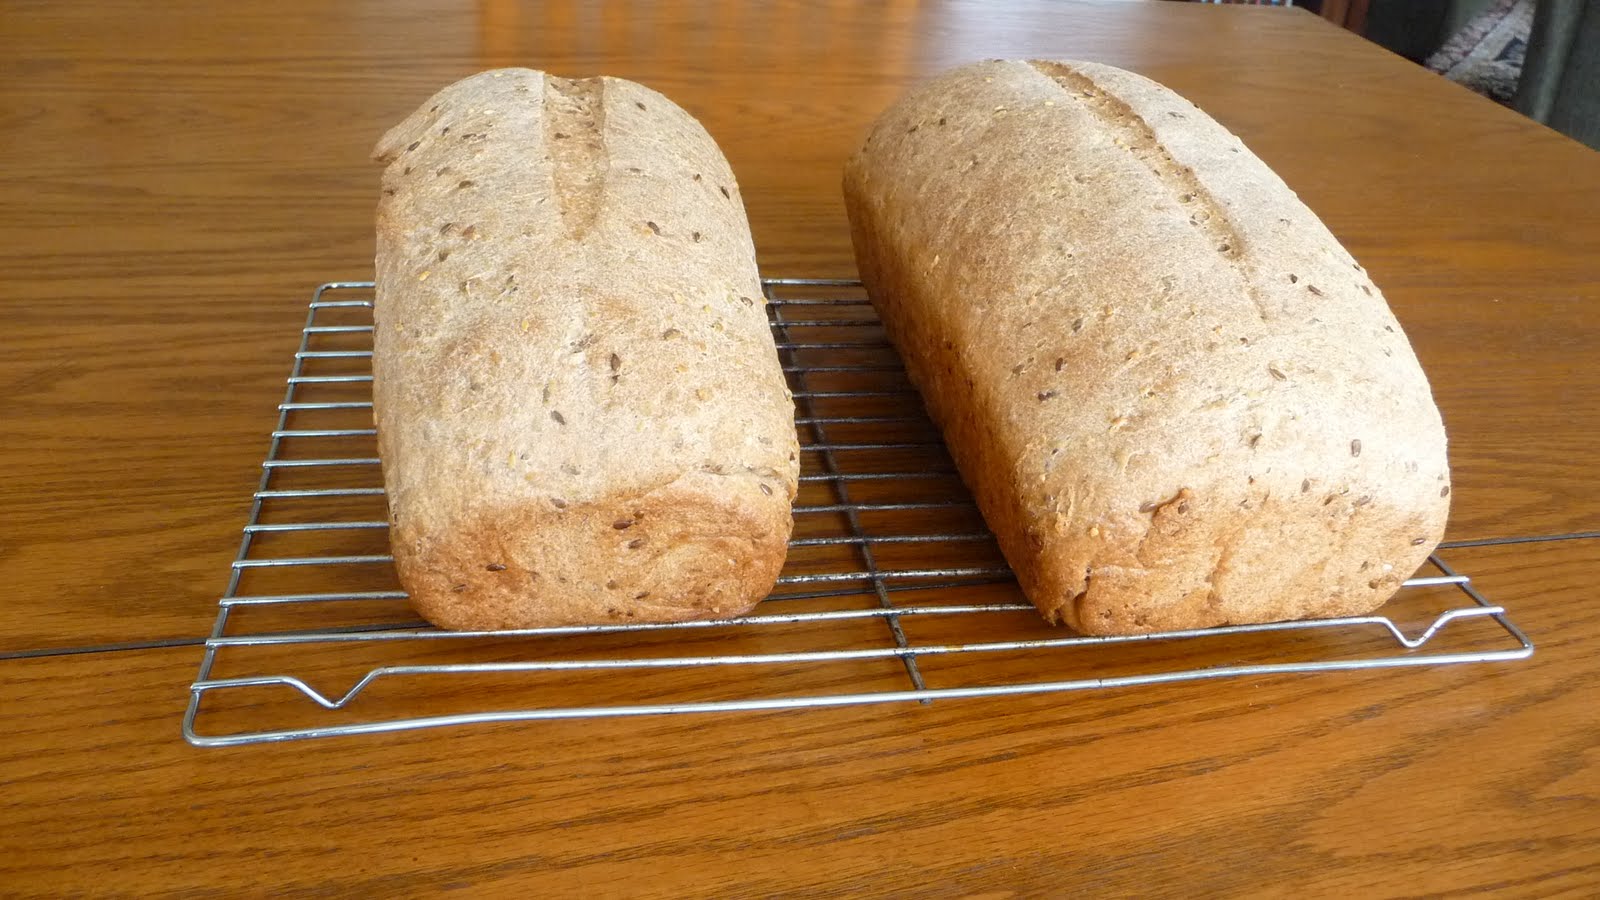
Flax Seed Bread

Today was bread-making day. A perfect day for it too, since it's overcast and a bit cool for this time of year. I started making bread again about 5 months ago, after we were unable to find a nice, hearty, healthy loaf at the grocery store. They were mostly too "bunny bread-like", or on the rare occasion that we found something we liked, it was very expensive. So, out came the bread pans, and after a hiatus of probably 25-30 years, I'm back at making bread!

Above are the loaves getting ready to go into the oven. You'll see that I am using glass and ceramic loaf pans, which give you far superior results. To the right, are the loaves just out of the oven. And below, well the photos speak for themselves.

I like making bread by hand, no bread machine for me. A bread machine is nice if you don't have time, but I have lots of time. I enjoy the process of mixing the ingredients, kneading the bread, watching it rise. I enjoy the yeasty smell that permeates the room as the dough starts to rise. And then there is the baking. The aroma is to die for, and that first warm slice, drenched in butter.....you can't get any better that that. Well, maybe a bit of salted caramel is better, but not by much.

This bread is Whole Wheat, Flax and Sesame Seed Bread, derived from a recipe on Allrecipes.com. It's the perfect blend of hearty, but not too dense. And I can say from tasting the first slice, is quite yummy!

Monday, May 30, 2011

Idea for the Day


Yesterday, I went to the movies with my husband, brother and sister in law. We saw Thor in 3-D. Definitely a fun movie to watch, though not a great classic by any means. My hair was bugging me, and I needed something to hold it back out of my face, but I couldn't find any hair bands, so I made one. I found some nice silvery yarn that I got as a sample, (from Yarn of the Month Club, www.yarnofthemonth.com) twisted it and added some big-hole beads (from Fire Mountain Gems). The result was just what I needed. I like the fact that it is is very gentle, and has the advantage that it stays on and doesn't slip off of your head. Normally, hairbands hurt my head after a while, but this one is very comfortable.

It was simple and quick to make, so now I want to find different sorts of novelty yarns and play with some designs. I think that along with hairbands, maybe some novelty jewelry (like necklaces and bracelets) would be fun too.

I'm off to Google to search for supplies!